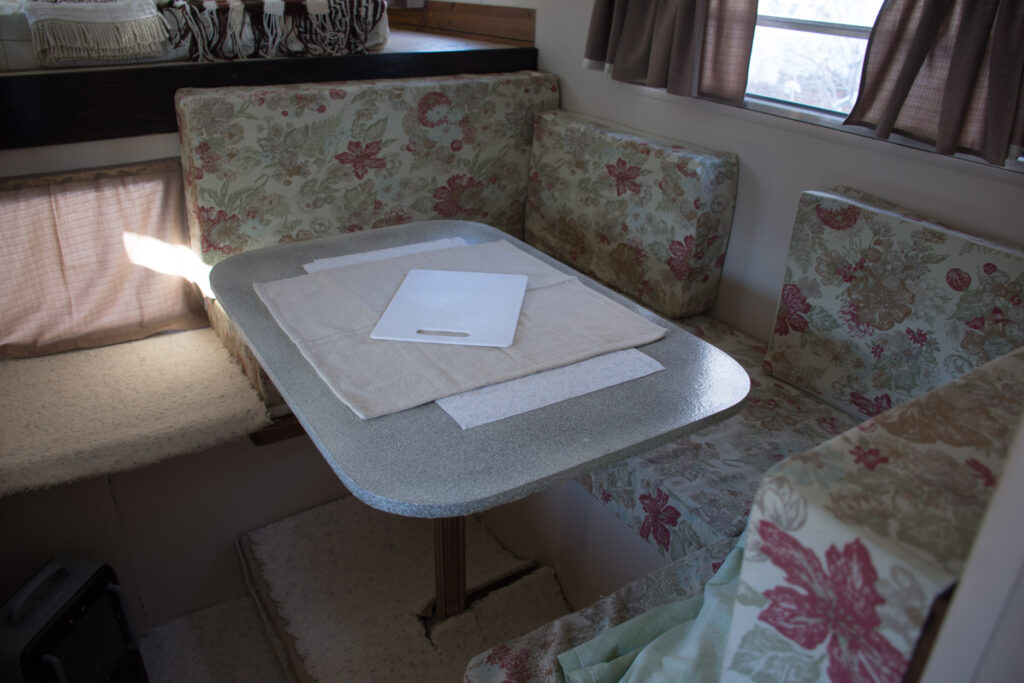
My Little Camper
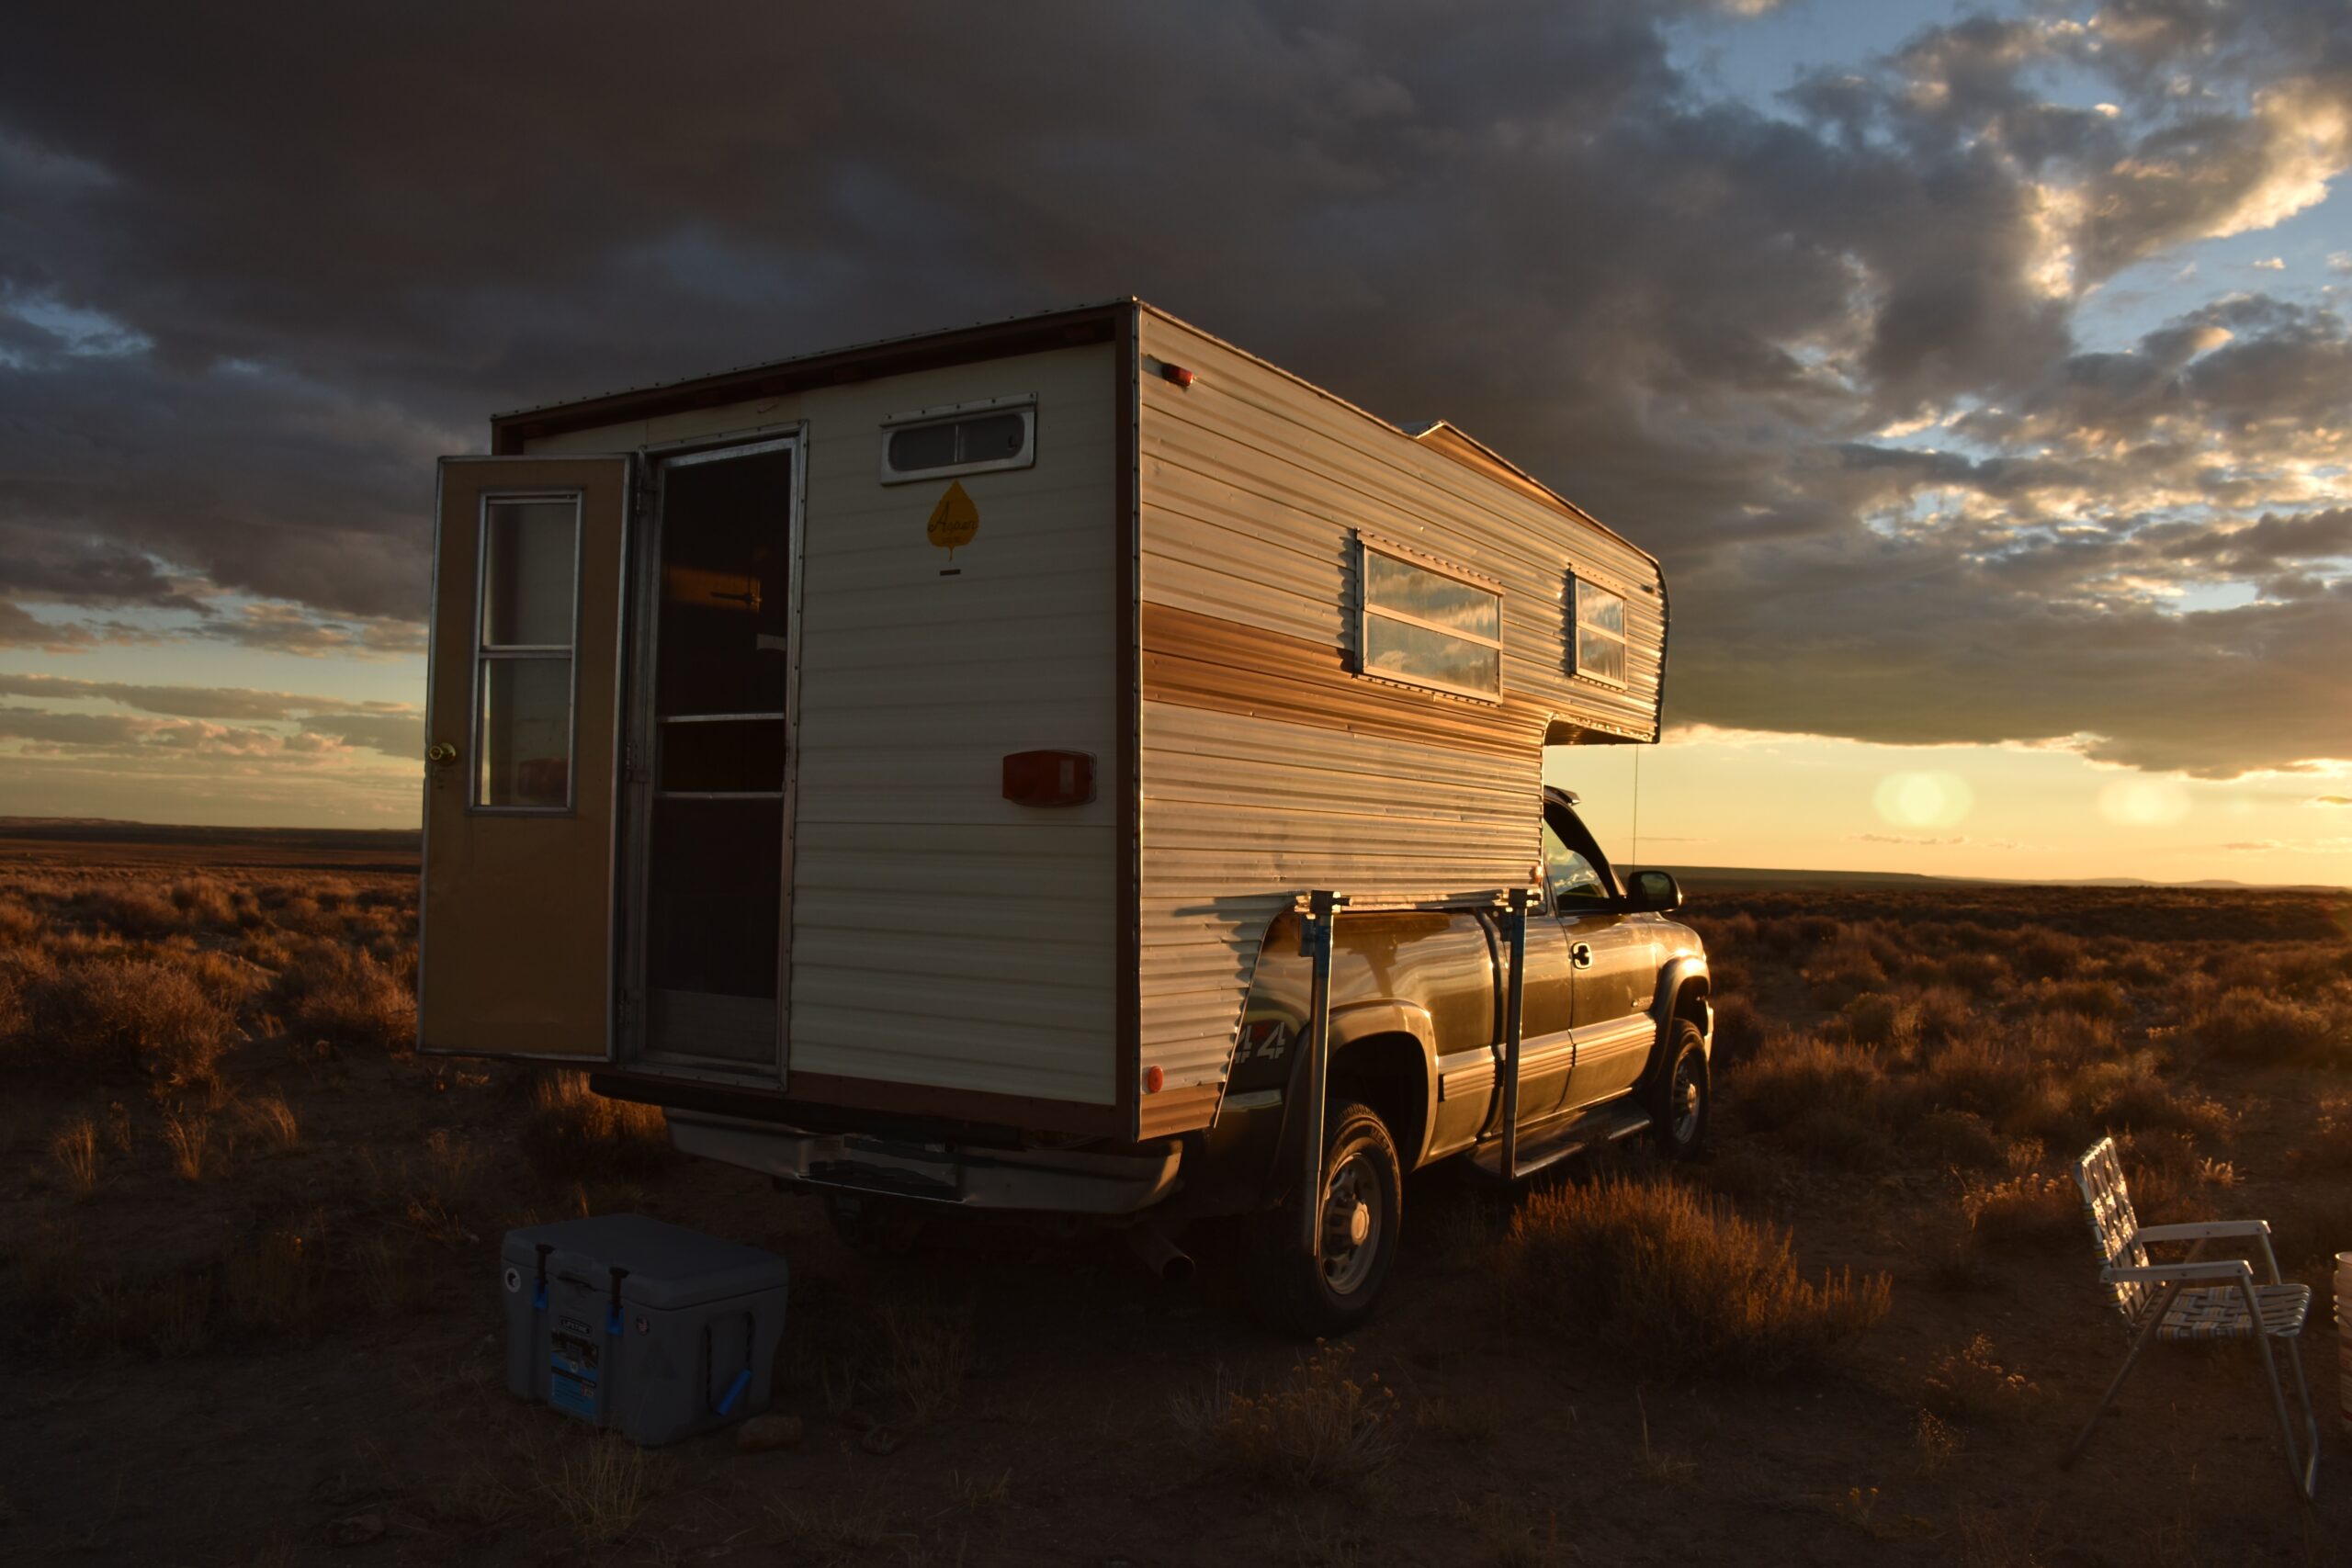
An experiment in progress…taking an old truck camper and making it new again…with a lot of help from my husband who is a carpenter. Here are the pics ‘before’ we started working on it…
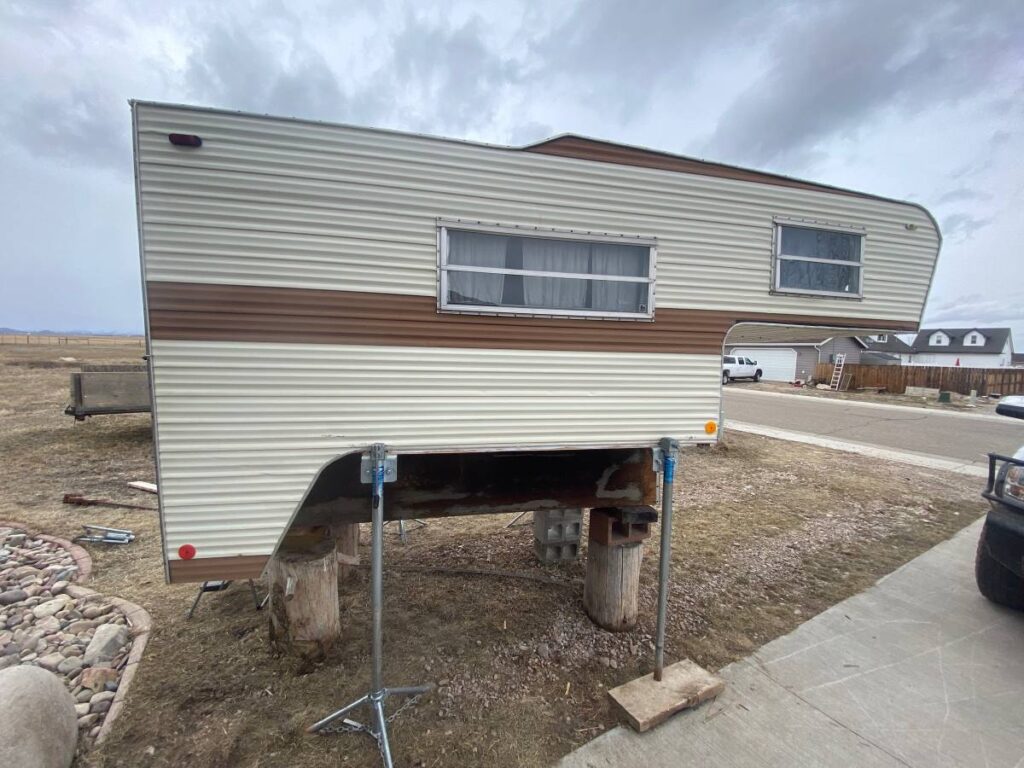
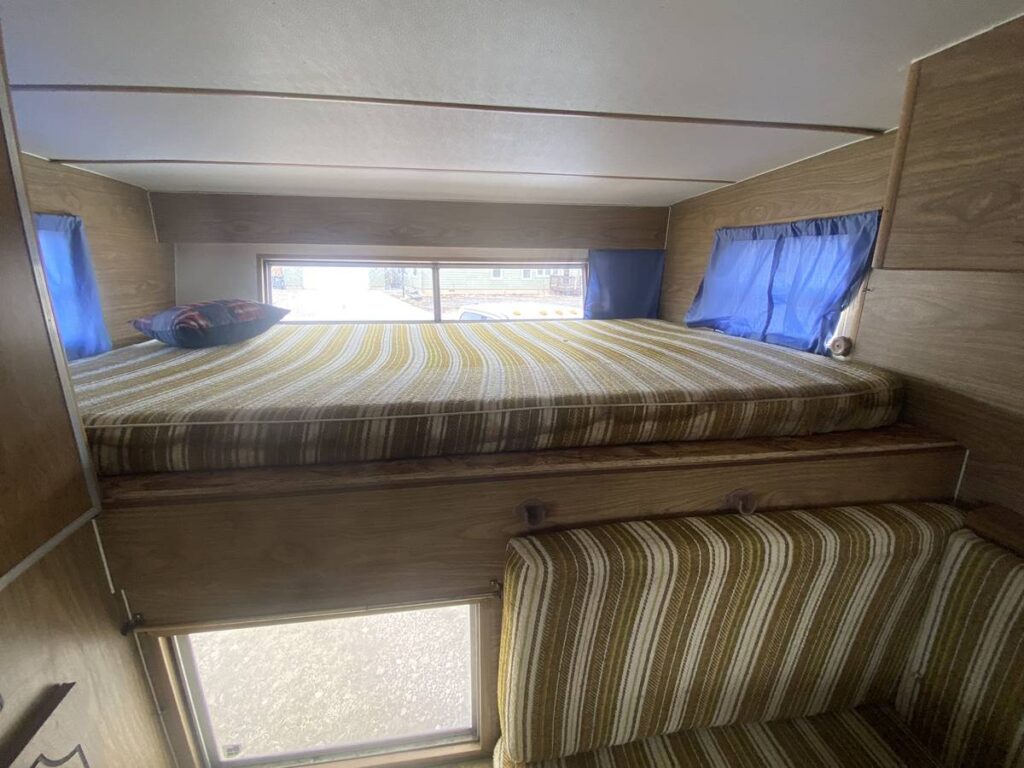
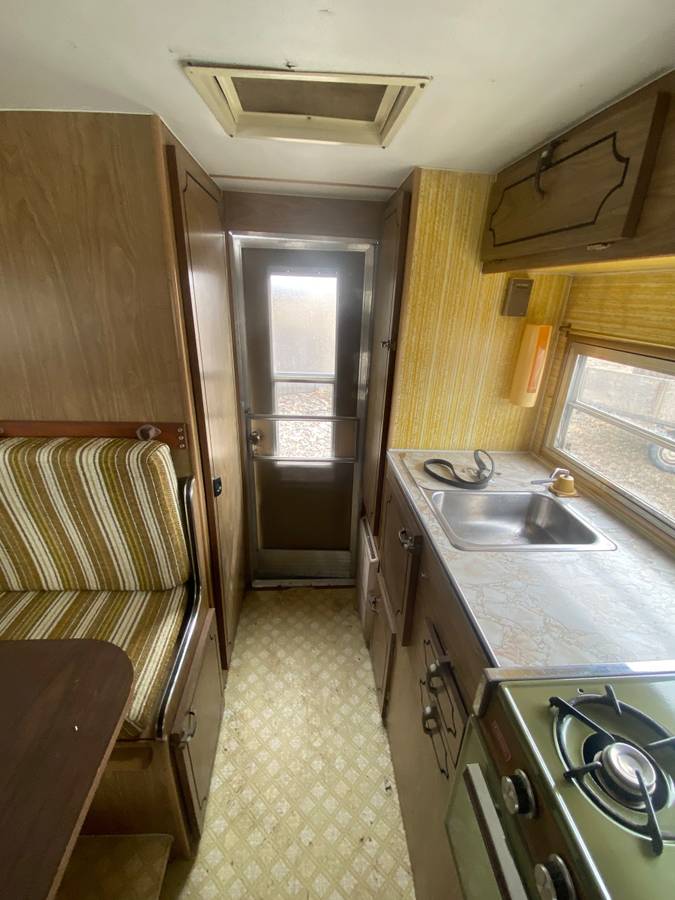
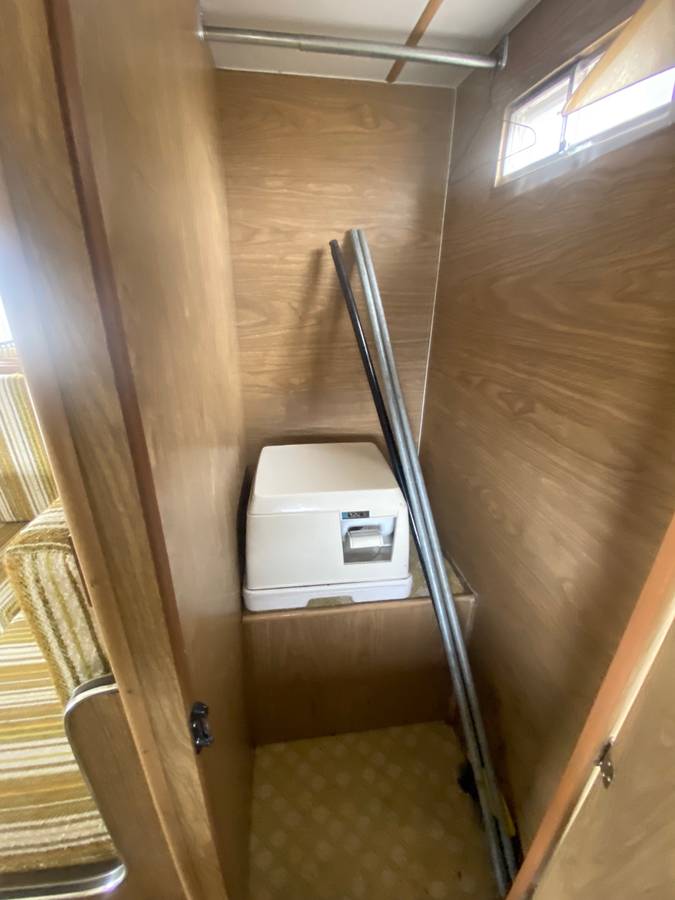
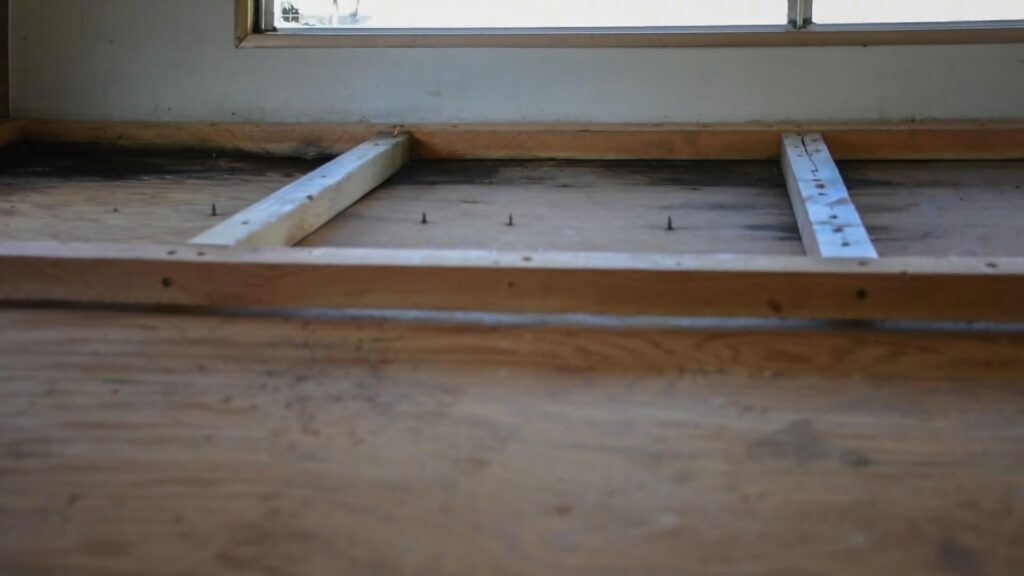
The first thing needed was a good cleaning out to see what needed fixing, replacing, etc. After pulling out the old cushions, everything got washed down. I used “Simple Green” concentrate in water. About 1/4 C to 1/2 gallon of water, approximately. I wiped down all surfaces, walls, ceiling, cabinets inside and out. When this was done, it was obvious that there was some water damage from leaking in the cabover bed area- which is very common in older campers. The bed platform was plywood but I could see dark stains just around the edges on the wall and around the front window.

We pulled the plywood out and exposed a nasty larger area that indicated the area underneath the frame was rotted in the corners.
Knowing this indicated worse conditions beneath the frame and outer plywood layer, I went outside and I unscrewed the aluminum outer shell underneath the bed area. The damaged wood just fell out as it was so rotten much of it had deteriorated.
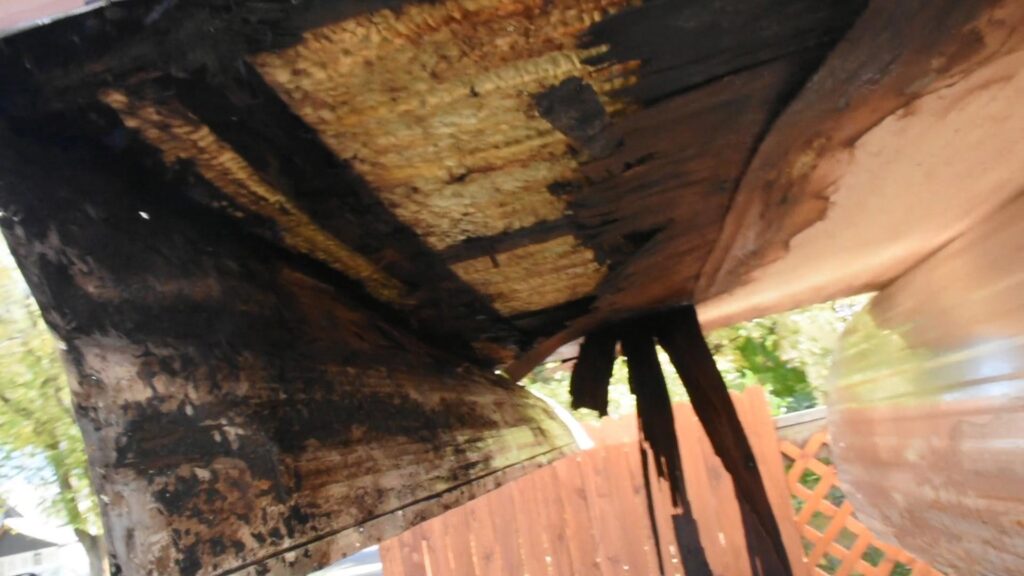
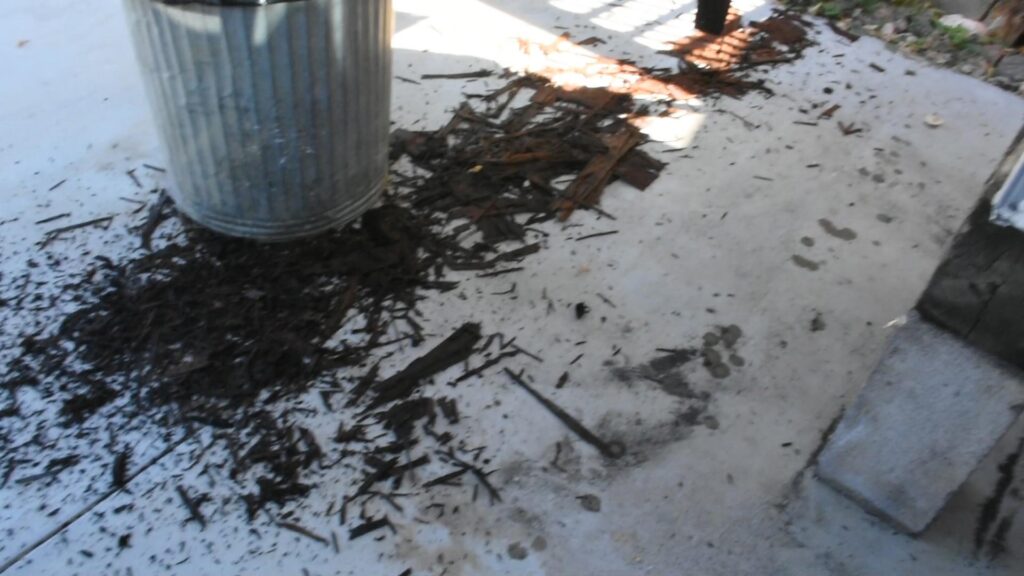
Ok, so this was going to be a bit more fixing than I thought. My husband, who is a carpenter, came to my rescue!
Here is the cabover area after removing all the old rotted wood and what was left of the wood. The window was rotted out all around the frame out toward both sides. He cut it up to just below the running lights. The leak happened around the window frame (not the running lights as I had thought) and around the top outer curved corners where the trim pulled away a little from the aluminum.
He reframed the window and the bed area, insulated and resealed the window and trim. Here is the bed area reframed.
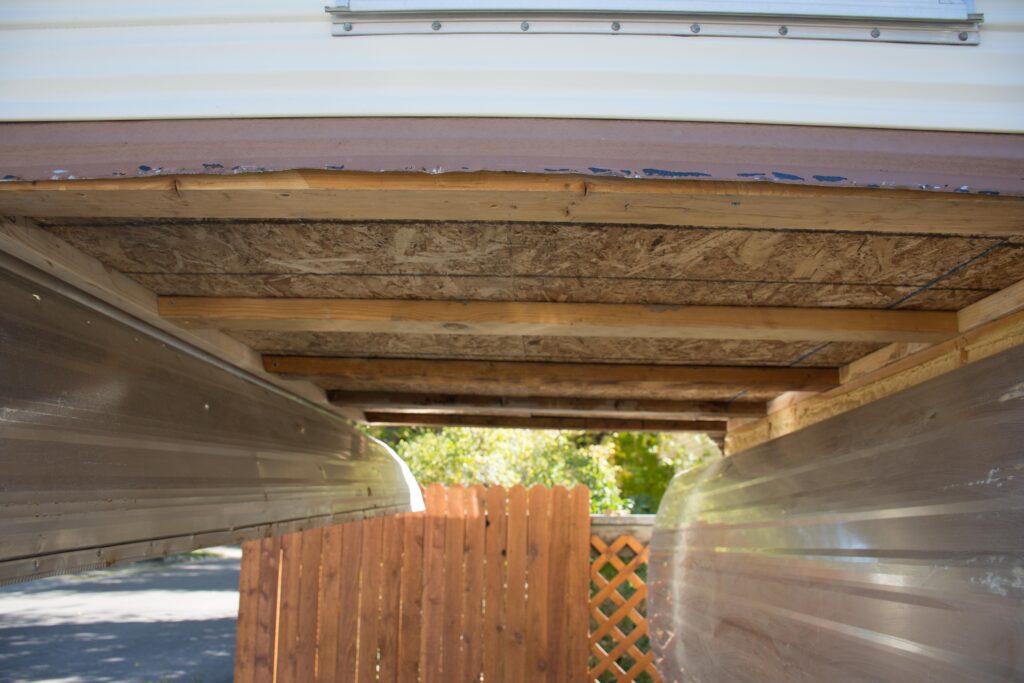
Next project: Painting exterior stripes.
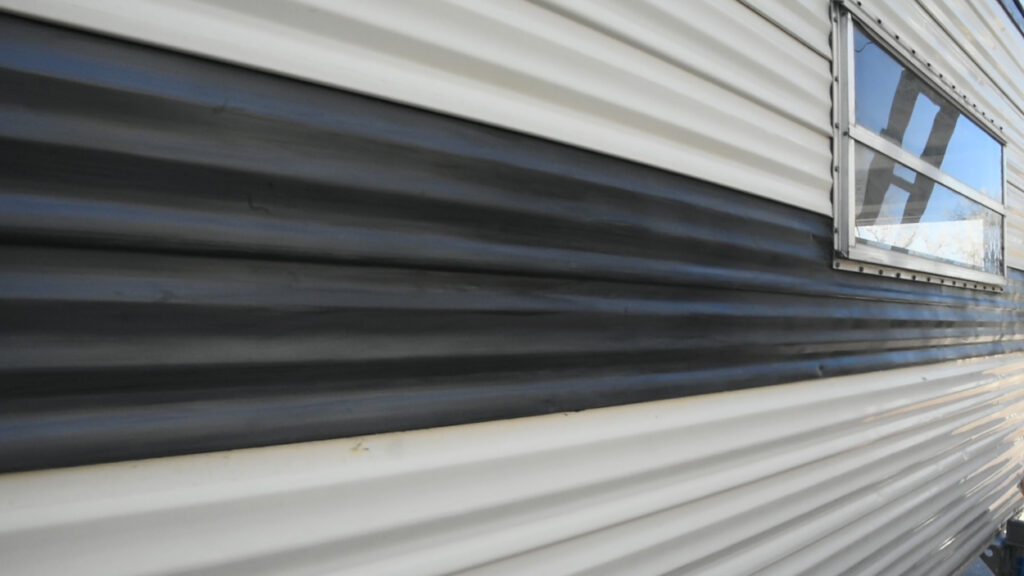
Painted exterior stripes and update on interior.
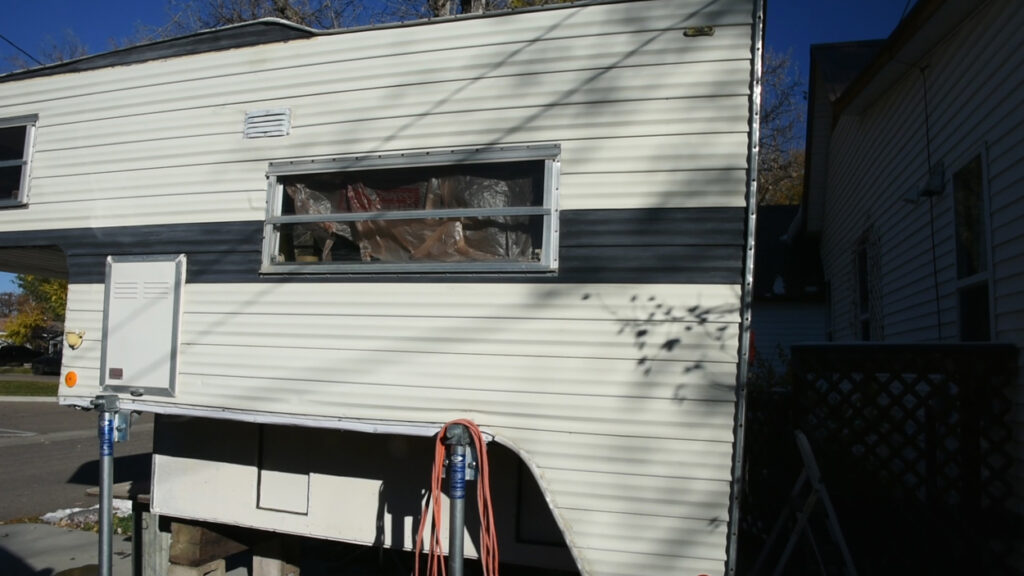
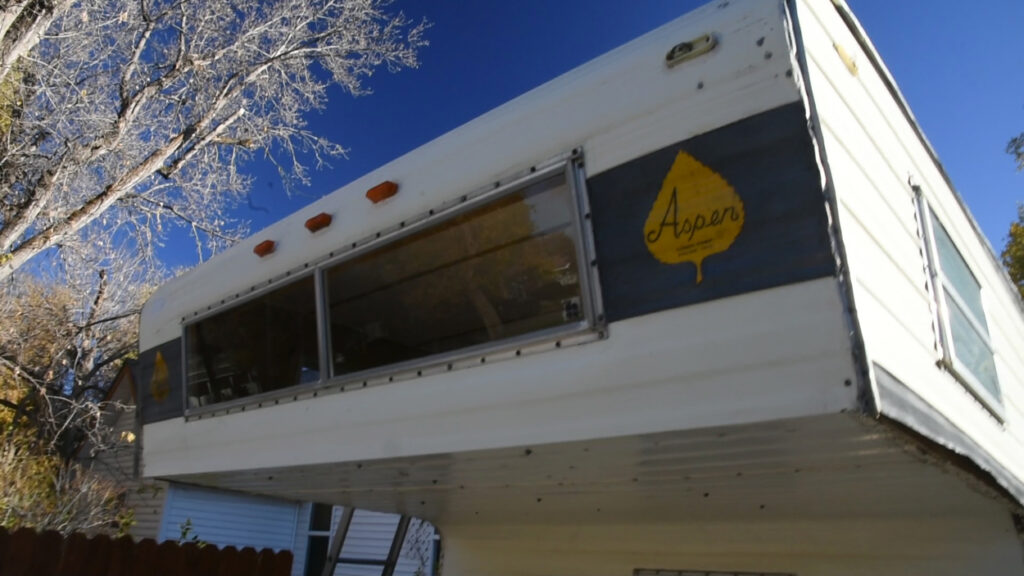
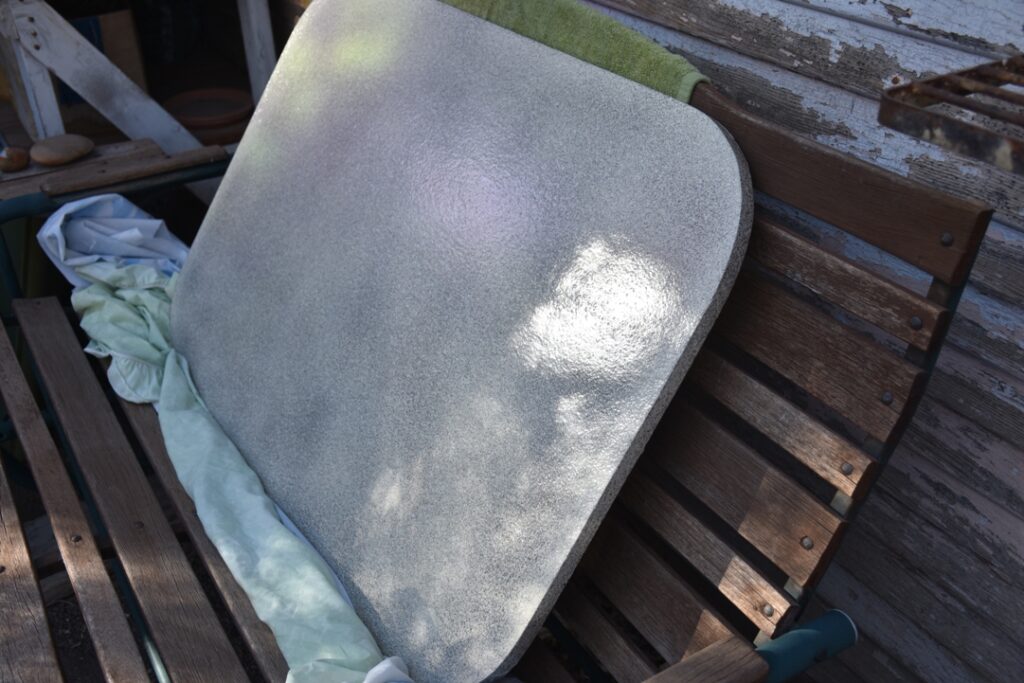
Interior demolition and refinishing the dinette table.
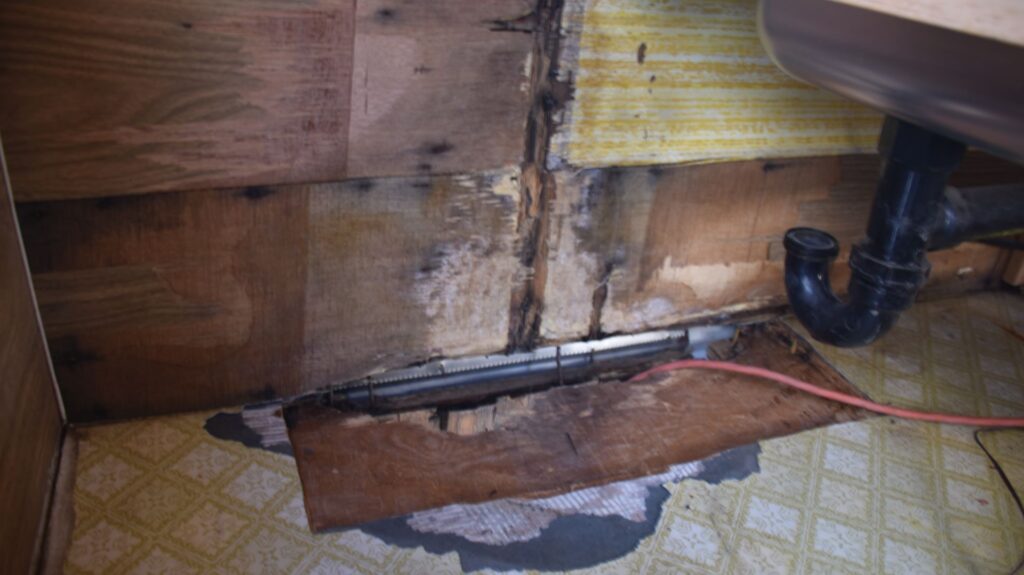
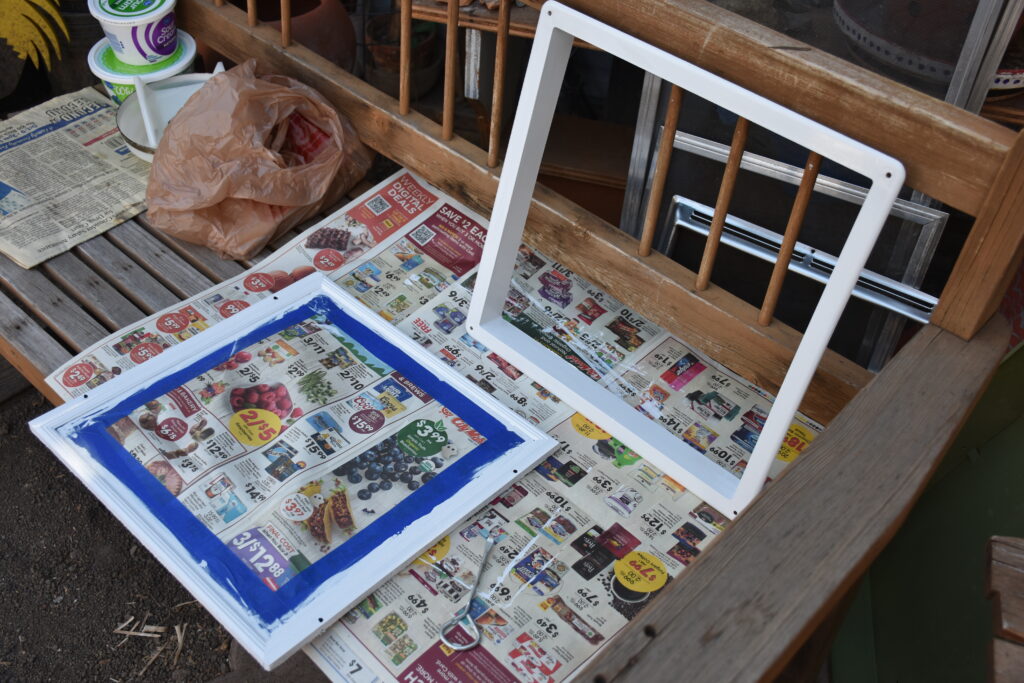
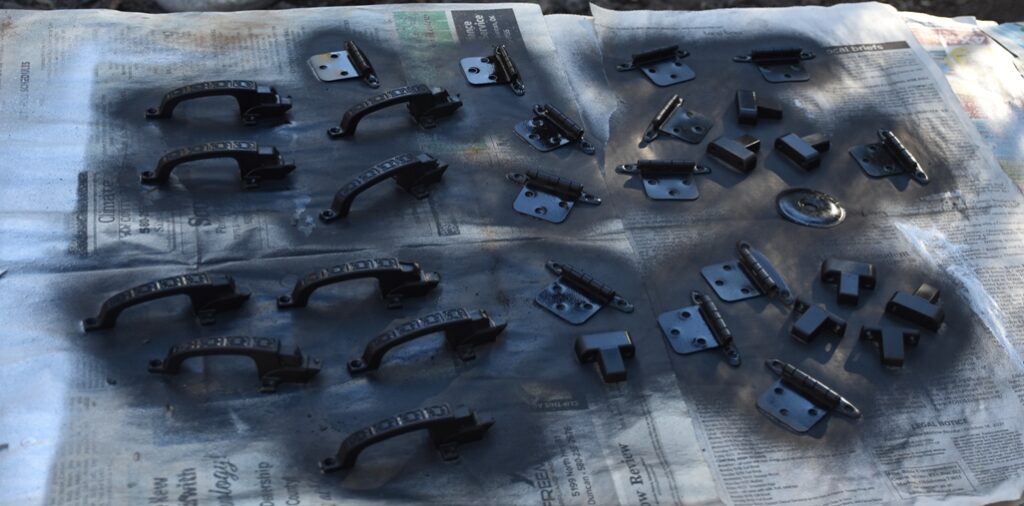
Continuing the removal and replacement of areas damaged by water leaks. Getting ready to paint interior and painting accessories and parts.
Replacing the ceiling damage was an interesting project. We decided to try the “Poor Man’s Fiberglass” method.
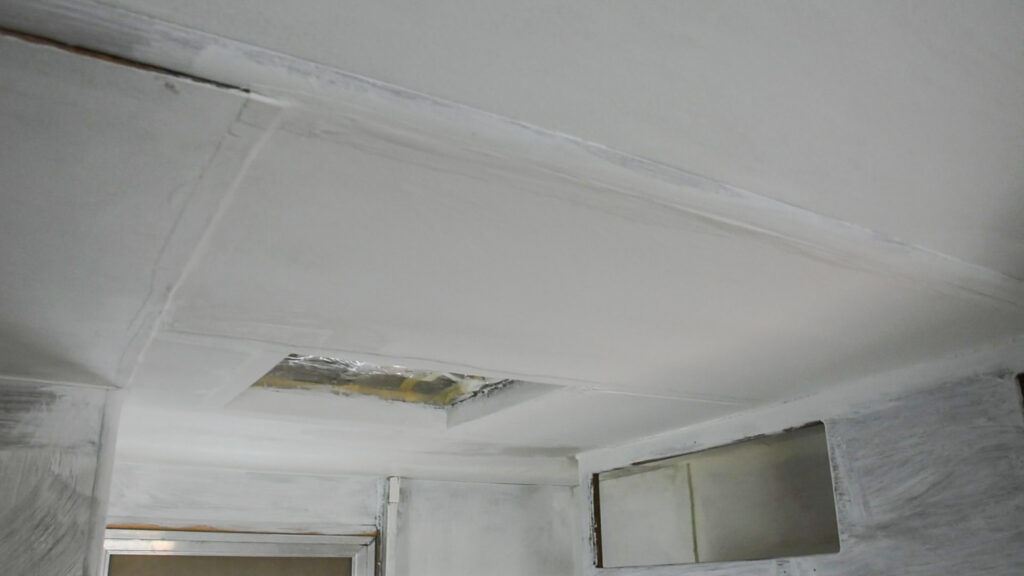
Damaged areas completely replaced, primed and getting ready to paint! Yay!
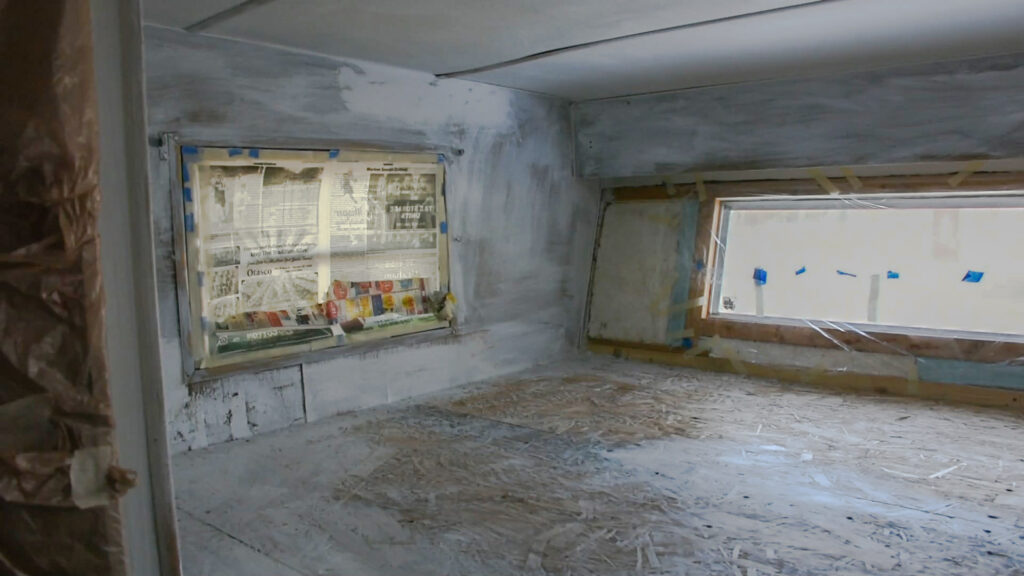
Getting closer!
Finally! Painting done and time for the big reveal!
